Author Archives: julie

My Amazing Christmas Cake

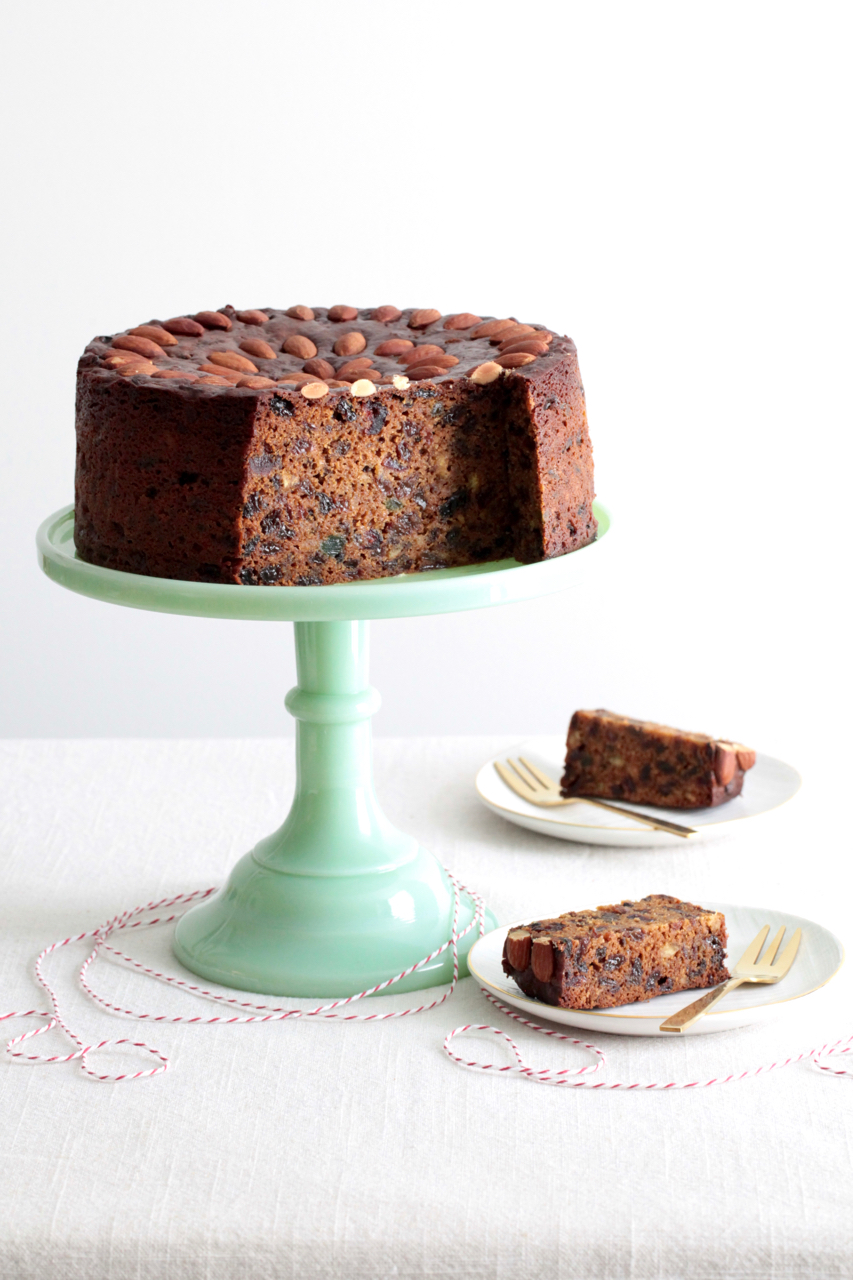
Today I’m sharing my much-requested and very special Amazing Christmas Cake recipe. This cake’s history dates back to World War II when eggs were hard to come by, so it is interestingly egg-free. It has now been in my family for several generations and I’ve made a few tweaks to the original recipe but luckily everyone seems to approve of my version. I go back to this cake time and time again because it has such amazing flavour and texture. It cuts well, even when freshly made, so it’s also a good one to make last-minute if you didn’t get around to making a cake in October! I like a lovely tall cake, so I use a 20cm round cake tin. However, if you use a 22-24cm cake tin then your cake will be less high and may take only 2 hours 10 minutes to cook.

225 g butter, cubed
1 cup hot water
1 tbsp white wine vinegar
2 tsp cinnamon
1 tsp mixed spice
1 kg dried fruit (I like an even mix of currants, raisins and sultanas)
395 g can sweetened condensed milk
1 level tsp baking soda
¼ cup dry sherry (or whisky or brandy, as preferred)
1 tsp vanilla extract
300g (2¼ cups) self-raising flour, sifted
Whole natural almonds, to decorate
Brandy, rum or whisky, to feed (see note, below)

Preheat oven to 150°C (130°C fan-bake). Line the base and sides of a deep-sided 20-cm round cake tin with two layers of non-stick baking paper – make sure the paper is higher than the sides of the cake tin, as the cake will rise higher than the top of the cake tin.
Place butter, hot water, vinegar, cinnamon, mixed spice and dried fruit into a large saucepan and bring just to the boil, stirring regularly until butter melts.
Remove from the heat and stir in condensed milk and baking soda (expect the mixture to foam). Set aside to cool to room temperature.
Add sherry and vanilla to the cooled fruit mixture and stir in flour. Spread mixture into the prepared cake tin. Arrange almonds on top, pressing them in lightly.
Bake for 2 hours 30 minutes or until a skewer inserted in the centre comes out clean. Cool completely before removing from the tin.

Note: To store any fruitcake, wrap tightly in a double layer of greaseproof paper and store in a cool place. ‘Feed’ the cake at intervals (say once a week) by poking the cake all over with a skewer, then drizzling with a little brandy, rum or whisky, so that it soaks in through the holes and permeates the cake with flavour.

Recipe and photos © Julie Le Clerc 2023
First published in Feast @ Home, by Julie Le Clerc and later published in Julie Le Clerc’s Favourite Cakes (both books published by Penguin Books NZ).
Slowly does it…

When life seems to get busier by the day, it’s worthwhile taking the time to linger over a cooking pot and to relish its gentle, unhurried bubbling. To watch a delicious meal simmer, slowly, can be a very restorative diversion. And when you don’t have the time then it’s good to know some slow-cook dishes can even be left alone to do their thing while you get on with something else. Slowly simmering food is one of the most ancient forms of cooking and the results deeply satisfying. Whether the recipe you choose to follow is an age-old soup or stew or a modern combination, the finished all-in-one meal will surely revive any flagging spirits or jaded palates.

5961_SlowCook_BeanSoup_2_12

Bean and Lentil Soup
Bean soups are wonderfully satisfying and tasty – this one can also be cooked in a crock-pot, if preferred.
2 tbsp olive oil
1 onion, finely diced
1 large carrot, peeled and finely diced
2 sticks celery, finely diced
2 cloves garlic, crushed
400g can crushed tomatoes
4 cups vegetable or chicken stock
1/2 cup green lentils
1 cup macaroni or other small pasta shapes
400g can white cannellini beans, rinsed and drained
400g can red kidney beans, rinsed and drained
2 tbsp chopped fresh oregano
Salt and freshly ground black pepper

Heat oil in a large saucepan, add onion, carrot and celery; cook over a low heat for 10 minutes until soft but not browned. Add garlic and cook for 1 minute more.
Add tomatoes, stock and lentils. Bring to the boil then simmer for 20 minutes.
Add pasta and beans and simmer for 10-15 minutes or until pasta is tender. Add oregano and adjust seasoning with salt and pepper to taste.

Chef’s trick: This soup can be made in advance and stored in the fridge for reheating throughout the week. You will find the flavours develop and improve with time.

Red between the vines

Picture 006

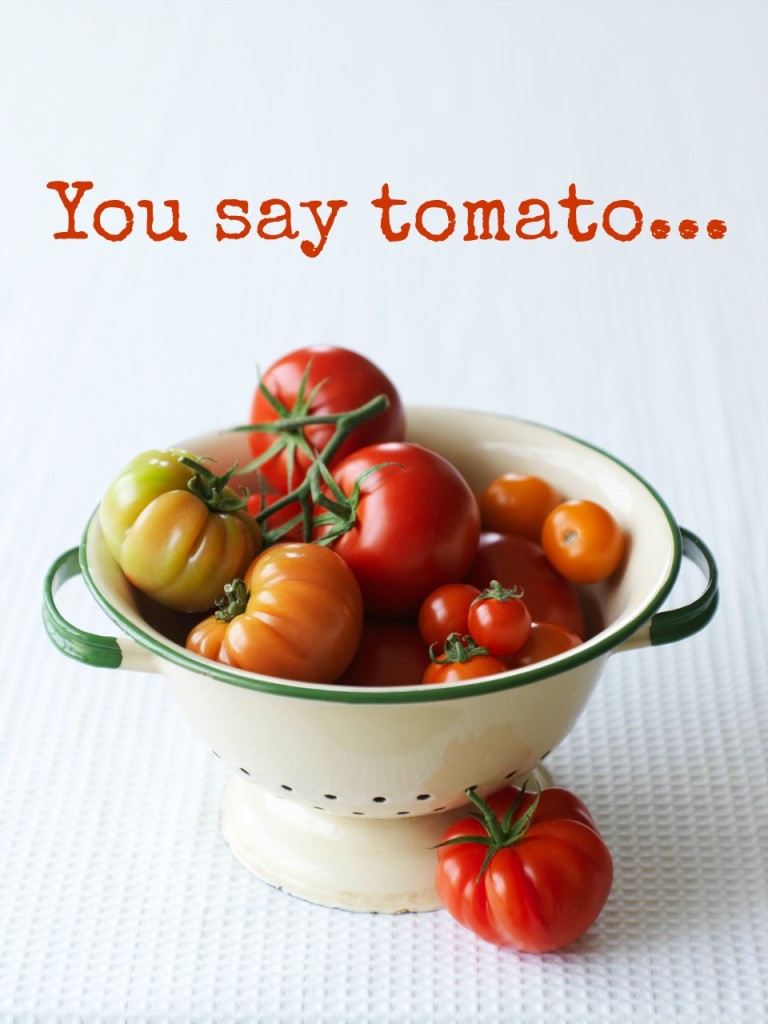
Tomatoes that have been allowed to ripen on the vine while the suns turns their skin a deep crimson are pure pleasure to eat. Big, small, round or oval, tomatoes are ripe with the promise of flavour. And these days, tomatoes come in many colours and types, as well – red and yellow, multi-coloured heirloom varieties, cherry, beefsteak, Italian plum or roma tomatoes, green, purple, vine-ripened and pear-shaped – they’re all delicious. Whichever variety you choose, the tomato forms the heart and soul of many recipes for sauces, tarts and pies, bakes, soups and preserves. And nowhere does it shine better than in a salad, tossed with a tasty dressing. So I say, don’t hesitate – dive right into the wide variety of summer-sun-ripened tomatoes while at their peak and most flavourful.


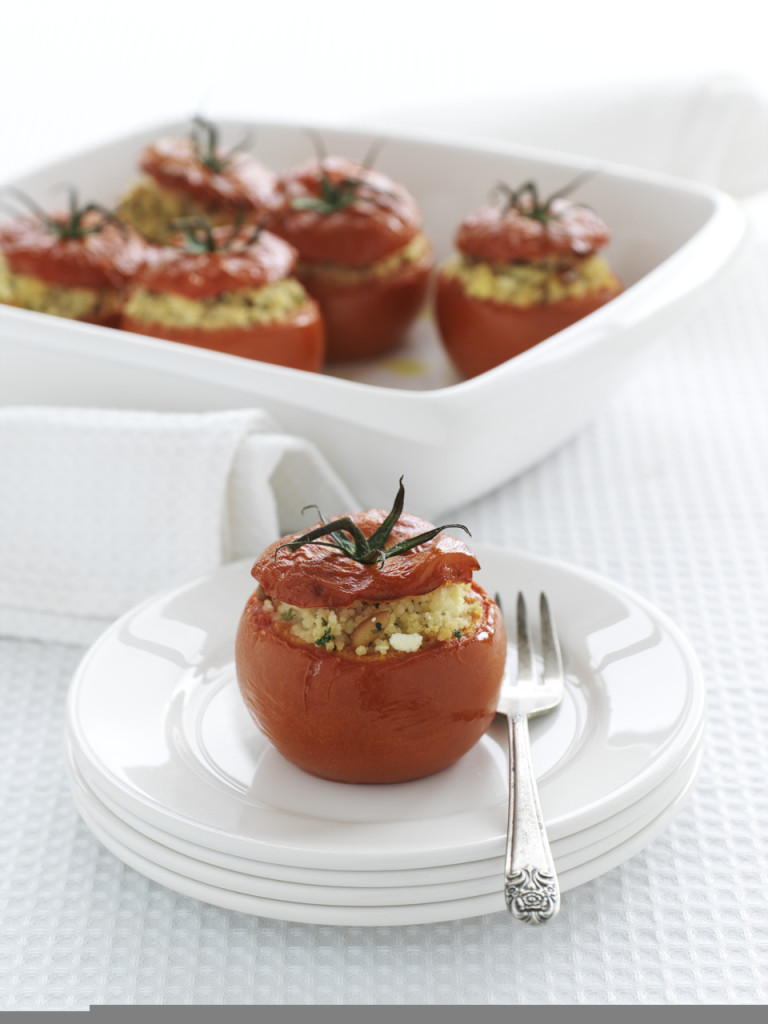
COUSCOUS AND FETA STUFFED TOMATOES
Baked tomatoes are an easy summer meal solution. In Mediterranean countries, tomatoes are traditionally stuffed with either meat or rice. I’ve stuffed these tomatoes with fluffy couscous, salty feta and the fragrance of fresh herbs for a change.
Serves 6
1/2 cup couscous
1/2 cup chicken or vegetable stock
3 tbsp chopped fresh mint
3 tbsp chopped fresh coriander or parsley
1/4 cup pine nuts
100g feta, crumbled
3 tbsp olive oil
Salt and freshly ground black pepper
6 large ripe tomatoes
Place couscous in a bowl. Place stock in a saucepan and bring to the boil then pour over couscous. Cover bowl with plastic wrap and leave to steam for 10 minutes until softened.
Fluff up couscous with a fork and mix in herbs, pine nuts, feta and olive oil and season to taste with salt and pepper.
Slice the stem end off each tomato. Using a teaspoon, hollow out the centres, removing and discarding the seeds. Fill each tomato with couscous and replace the ends as a lid.
Heat oven to 190°C. Place stuffed tomatoes on a lightly oiled baking tray and bake for 15 to 20 minutes, until heated through and golden brown. Serve hot with perhaps roast chicken, grilled steak or pan-fried fillets of fish.

Chef’s secret: Never store tomatoes in the fridge as this impairs their falvour. Place tomatoes in a bowl as you would any fruit, and leave them at room temperature. Tomatoes are a sub-tropical fruit and so respond to warmth and sunlight. Once tomatoes are at their optimum state of ripeness, they should be eaten as soon as possible.


Talking Turkey

Talking turkey… 

I’m a sucker for tradition and turkey is what I crave as the centerpiece of my Christmas table feast. I always choose to serve free-range turkey. Raised on the clean, green land and allowed to range freely, this natural lifestyle really contributes to a free-range turkey’s fuller flavour and tenderness.

Over the years I’ve tried a variety of twists on the turkey tradition – everything from boning, stuffing and rolling a whole turkey; and various or multiple stuffing recipes; to cooking just the turkey breast-meat and adding this to a salad. About ten years ago, wet-brining became all the rage and so I tried this concept too.

Brining is the process of soaking the turkey overnight in a salty water solution before roasting and it works to inject the meat with both flavour and moisture producing juicy, tasty results and extra crispy skin. However, this process is a bit of a palaver and you have to find a vessel big enough to hold the turkey and the brine solution and space in your fridge to store the whole thing.

Now I’ve discovered an easier method and so I’ve moved on to dry-brining (also called pre-salting) – this gives all the flavour and texture of wet-brining but is less awkward to accomplish. I’m going to share with you exactly how to do this so you too can cook the most succulent and delicious turkey you’ve ever tasted.

This year, I’m loving using pomegranate molasses to glaze my festive turkey because it gives a wonderful sweet-sour flavour to the meat and to the gravy plus a fantastic bronzed colouring to the skin. You can buy pomegranate molasses from specialty food stores and some supermarkets.

turkey_8214

Pomegranate molasses glazed turkey with onion gravy

Serves 10-12

4.5 kg free-range turkey, thawed
3-4 tablespoons sea salt
3 large onions, thickly sliced
1/4 cup pomegranate molasses
2 tablespoons olive oil
3 bay leaves
2 pomegranates, to garnish (optional)

Start with a thawed, natural (not pre-seasoned) turkey. Remove the giblets (and reserve in the fridge for gravy making). Rinse the turkey inside and out and dry with paper towels. Sprinkle the salt all over the turkey, starting on the underside, then the cavity, and finally the breast.
Place the turkey, breast-side up, on a rack set over an oven pan (to catch any drips) and refrigerate uncovered for at least 1 day but ideally up to 3 days. You do not need to pat it dry before cooking.
Remove the turkey from the fridge one hour before roasting and let it stand at room temperature. Preheat the oven to 170°C and position the oven rack in the lowest part of the oven.
Place one sliced onion into the turkey cavity, tie the legs together with heatproof kitchen twine and tuck the wing tips under the bird. Scatter two sliced onions and bay leaves over an oven pan and place the turkey on top. Pour 1.5 cups of water into the roasting pan and add the giblets. Drizzle the pomegranate molasses all over the turkey and smear this into the skin. Drizzle over the oil.
Roast for 2 hours 15 minutes (as a guide, allow 15 minutes per 500gms plus 15 minutes extra), basting regularly and adding more water to the pan, as necessary. Cover with foil half way through cooking if the skin gets too dark. Remove the turkey to a platter to rest, covered with a tent of foil, for 15 minutes before carving. Garnish the platter with halved pomegranates, if desired.
Meanwhile, make the gravy. Reserve 3 tablespoons of the fat from the roasting pan and place in a saucepan. Remove the onions and all the pan juices (discard bay leaves) and puree together in a food processor. Stir 2 tablespoons of flour into the fat and whisk over heat to brown the flour. Whisk in the puree and pan juices and simmer until the flour has thickened and the gravy is smooth. Add a little extra water or stock if necessary. Adjust seasoning with salt and pepper or perhaps a little extra pomegranate molasses, to taste.

Enjoy! And happy Christmas to everyone. Julie xx

Turkey_8251


The magic of Pavlova


OpeningPav1

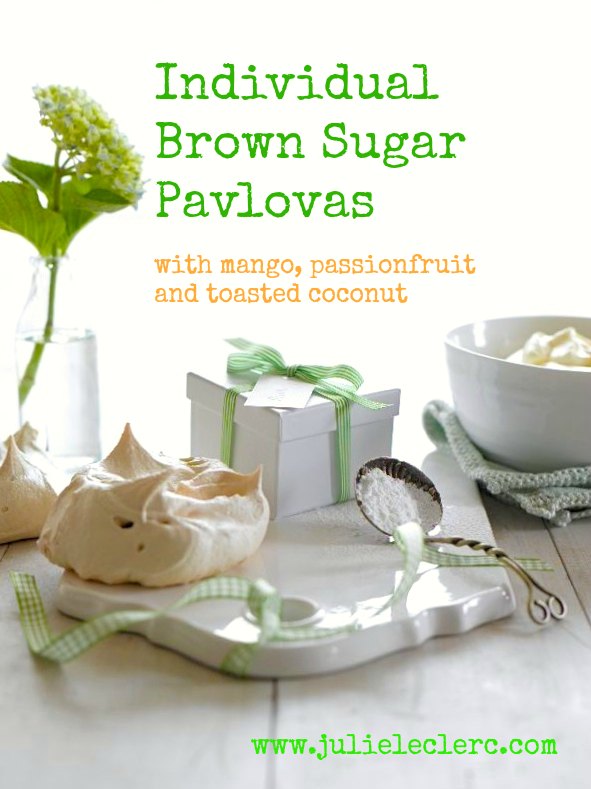
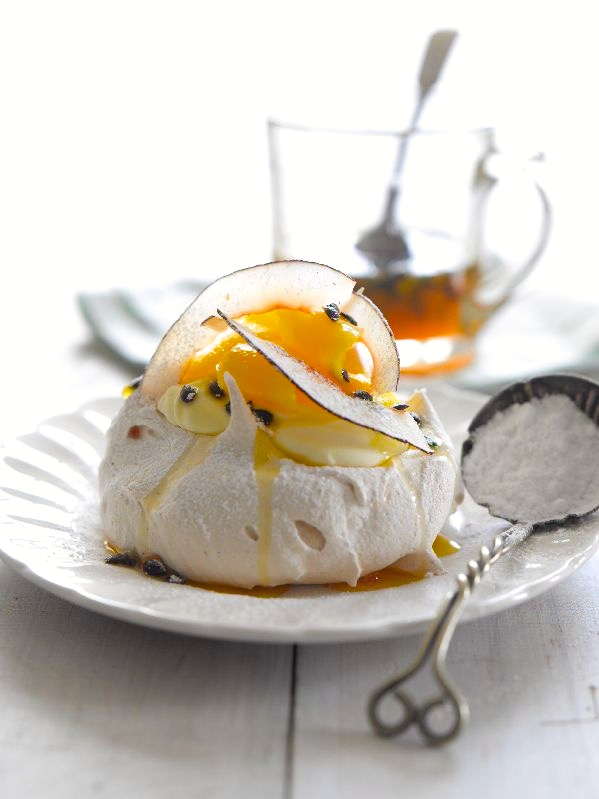
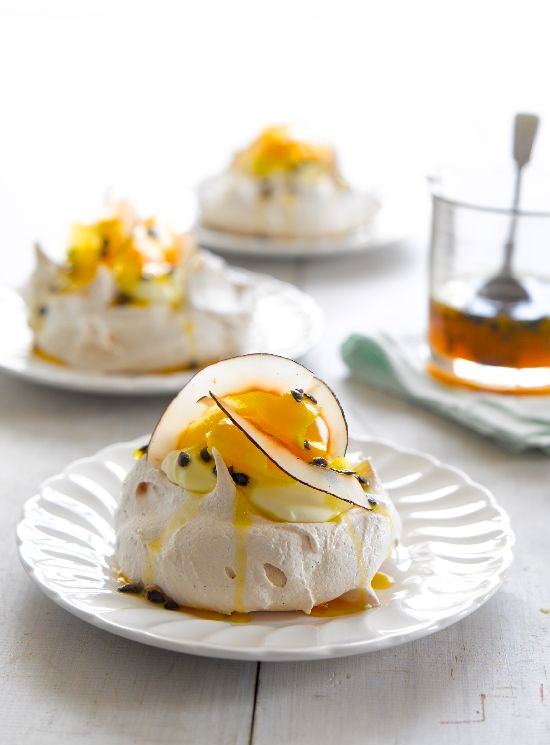
There’s a magic about the alchemy of combining eggs whites and sugar to create fluffy, whipped peaks of white meringue. This magic, combined with nostalgia and a big dollop of deliciousness are the reasons why the great Kiwi Pavlova holds such a special place in our hearts as our most loved egg-based dessert. My twist on this wonderful tradition is the individual Pavlova. Made with brown sugar, these Pavs have a caramel taste and gooey texture that guarantees they will be a memorable treat and a highlight of any celebration.

Eggwhites_8138

Individual brown sugar Pavlovas with mango, passionfruit and toasted coconut

Makes 12

Pav3

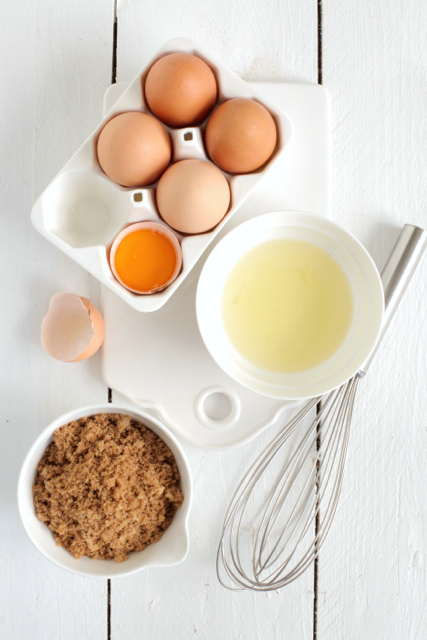
4 egg whites, at room temperature
1/4 tsp cream of tartar
3/4 cup caster sugar
1/2 cup brown sugar
1 vanilla bean, split in half
400ml thickened cream, to serve
1 mango, thinly sliced
Preserved passion fruit, in syrup (available from supermarkets)
Toasted fresh coconut, or threads (see chef’s trick)

Preheat oven to 130°C. Line 2 baking trays with baking paper. Whisk egg whites with cream of tartar until soft peaks form. Gradually add caster sugar, whisking continuously until the mixture is very thick and glossy.
Add brown sugar, whisking well until dissolved. Scrape seeds from vanilla bean and whisk seeds into the meringue mixture.
Spoon mixture onto prepared baking trays to make 12 mounds. Bake for 1.5 hours (do not open the oven door during this time). Turn the oven off and leave Pavlovas in the oven to cool completely.
Spoon cream on top of Pavlovas, top with sliced mango, passion fruit pulp and toasted coconut.

Coconut_09

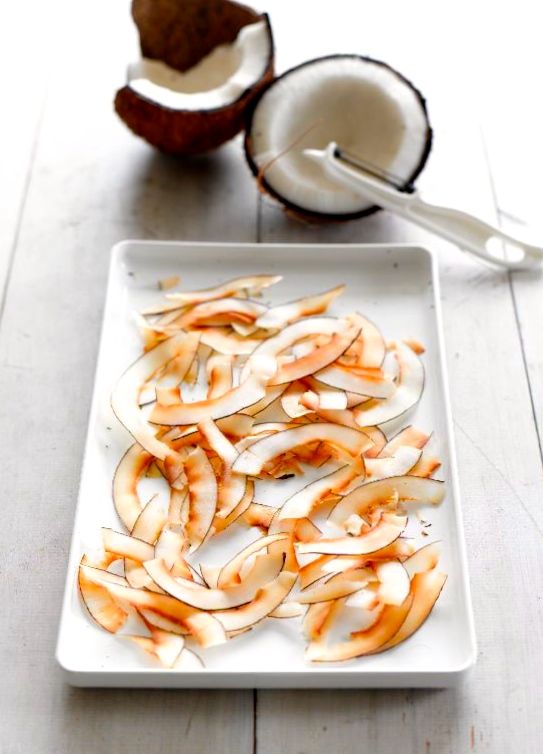
Chef’s trick: Buy a whole fresh coconut and break it open to remove the flesh. Using a vegetable peeler, peel thin strips of coconut. Place on a baking tray and bake at 180°C for 5-10 minutes, or until golden brown. Alternatively, toast desiccated thread coconut in the same manner.

Pav4


I’m nuts about nuts

I confess, I am a bit if a nut nut. I am happy to explain why. First of all, nuts are a great long-term energy source and are rich in mono or polyunsaturated fats – the good guys – that reduce cholesterol and improve blood circulation. Secondly, they contain a nutrient called alpha-linolenic acid that is credited with protecting the heart (60g of nuts two to four times a week can rapidly reduce the risk of heart attacks); and they regulate heartbeat and circulate oxygen in the muscles. Thirdly, they taste fantastic and are said to increase vitality (cashews), assist with depression and sleeplessness (almonds) and improve metabolism (walnuts).

Nuts are not only chock-full of vitamins, minerals and heart-healthy unsaturated fats but they’re a super-satisfying snack; add flavor and crunch to any meal; and are brilliant in baking. That’s why I’m nuts about nuts.

Around the world nuts are enjoyed in many forms. In Europe, almonds and walnuts may appear in muesli or breakfast pastries and roasted chestnuts are sold on the street to nibble on cold days. Peanuts and cashews are ubiquitous in Asian stir-fries and curries either ground or left whole, or rich, buttery nut sauces such as this classic satay sauce are the perfect complement to chargrilled meats or vegetable dishes like gado-gado. In Spanish dishes nuts are sometimes  used to thicken and add texture to sauces.

Let’s not forget that nuts can star in any of the following dishes – stuffings for capsicums and tomatoes, salads, pies (think sweet and pecan) and, of course, pasta sauces such as pesto (made traditionally with pine nuts, but these can be substituted with cashews or walnuts for variety). Or just nibble them on their own as a snack with dried fruits and seeds.

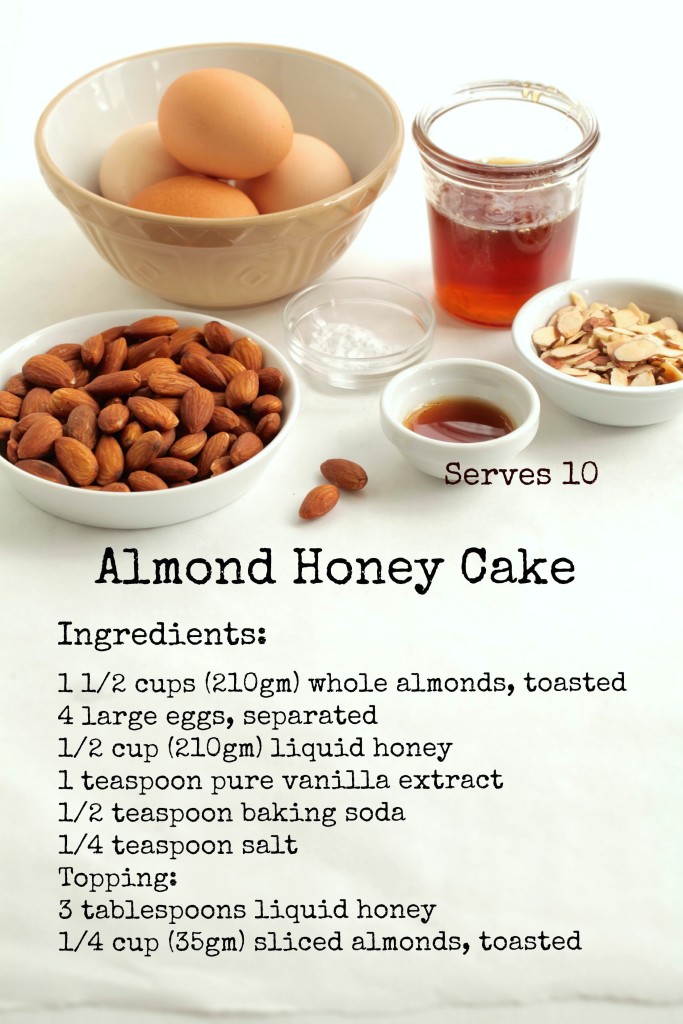
Many people have a favourite nut (almonds are definitely mine) and I have discovered, by experimenting, that nuts are interchangeable in lots of recipes. For instance, walnuts, hazelnuts, pecan, Brazil nuts and even macadamias can be exchanged for the almonds in this cake. Whichever one you choose, people will go nutty over this naturally honey-sweetened cake.

As it is sweetened with honey only, (it does not contain any refined sugar), it tastes wonderfully fragrant. It’s also naturally dairy and gluten free, which is a bonus for those who need this option. But rest assured, it remains flavourful and light with a satisfying damp and nutty texture. It’s lovely for afternoon tea and can also work well for dessert with a dollop of yoghurt, softly whipped cream or ice cream on the side.

ingredients_7033 LOWresPic_method_6955

Cook’s tip: Be careful not to overbeat the egg whites—they should be white and very foamy, but not at all stiff or able to hold peaks. If you beat them too much, the cake may sink in the middle as it cools.

Cake_honey

Drizzle finished cake generously with extra honey and sprinkle with toasted sliced almonds

J’adore les Canelés

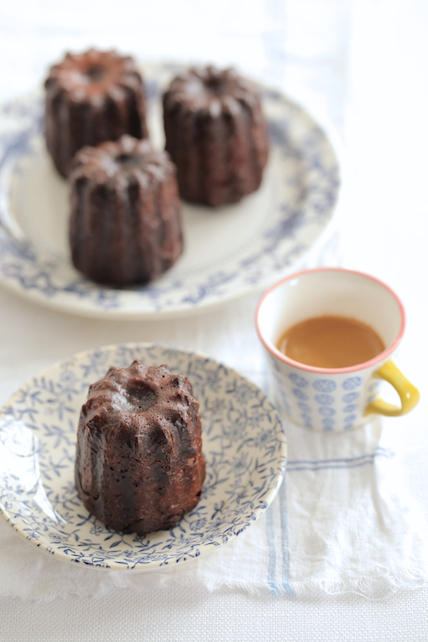
I want to tell you about a French delicacy that I have adored for a long time now. They may look rather plain but don’t judge a Canelé by its simple exterior. With their darkly caramelised, crunchy outside and soft rum and vanilla-scented custard interior these sweet morsels are addictive. For me, it was love at first bite the very first time I tasted a Canelé.

Not to be confused with cannelle (the French word for cinnamon), Canelés de Bordeaux are a truly delicious French pastry/cake creation. As their name implies, Canelés originated in Bordeaux but can now be found in patisseries in Paris and beyond, where they are known as Cannelés Bordelaise (more on this to come, so read on).

Canelés have a past steeped in folklore and it is not quite known when the first canelé was made. All that is known about their origin is they were created by nuns in the Bordeaux region of France sometime before The French Revolution – some accounts date their origin back as far as the 14th century. Traditionally, nuns made various baked goodies such as canelé using egg yolks that were donated by local winemakers who used only the egg whites to clarify their wines.

In the 1980s, the French became concerned that the Canelé would be corrupted by global food trends, so they formed a fraternity of bakers to protect the integrity of the Canelé. Much like Champagne, which can only be referred to as such if it is from the Champagne region of France, Canelé can only be called Canelé de Bordeaux if they are made in Bordeaux. Whereas, Cannelé Bordelaise (spelt with an intentional second ‘n’), is the name given to this sweet treat found in bakeries elsewhere in France and now also around the globe.

Just as specialty Macarons shops are springing up all over the world, when I was in Paris a couple of years ago, I noticed a new phenomenon… specialised Cannelés Bordelaise stores are the new vogue.

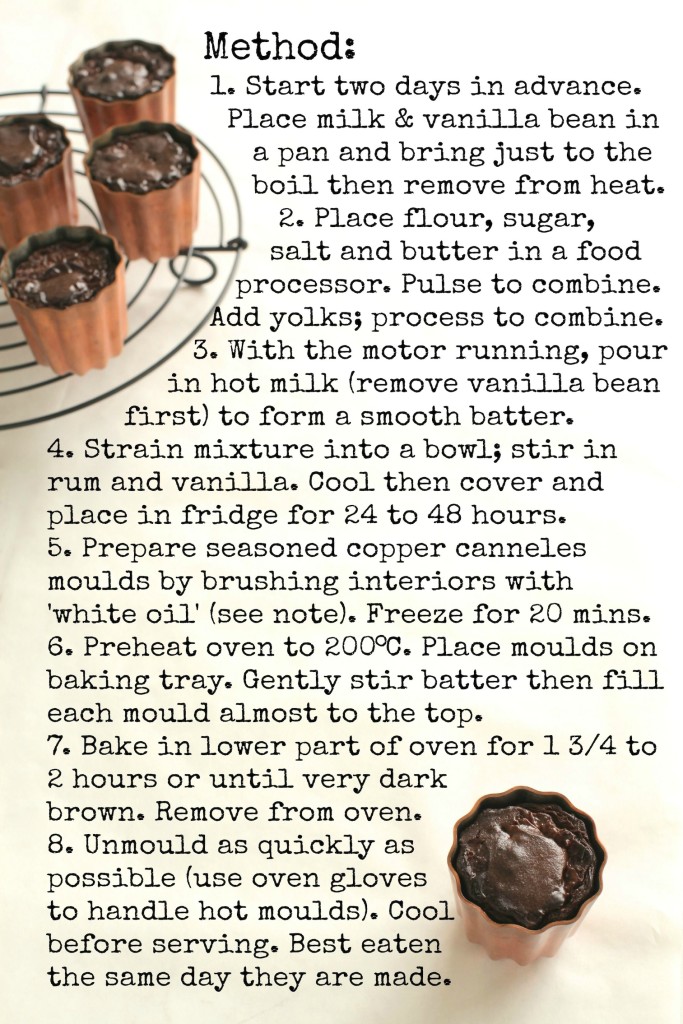
You will need specific fluted copper Canelés moulds and lots of time and patience to make your own Canelés, but it’s worth perfecting the art, as the results are sublime. Here’s a recipe that I’ve developed that works a treat:

Canelés

Makes 12 medium or 24 small Canelés

INGREDIENTS:

500ml whole milk

1 vanilla bean, split in half

115gm plain flour

200g caster sugar

Pinch salt

30gm butter

4 large egg yolks

2 tbsp dark rum

1 tsp pure vanilla extract

Melted butter, or ‘white oil’, to coat moulds (see note)

Cook’s note: ‘White oil’ is made by mixing melted bees wax and then blending in enough neutral oil, such as sunflower or canola oil, to form a smooth white coloured oil. This is traditionally used to brush the cannelé moulds. However, it’s a bit of a palaver to deal with and I find that butter works just as well.

HiRes_PICmethod_cann_7179